Recipes From Living the American Backwoods Cabin Life

Showing posts with label Breakfast. Show all posts

How to Make Omelets Using Ziploc Bags

https://cabincleaver.blogspot.com

My mother shared this recipe with me many years ago. I have made these scrumptious omelets at home, but it has been a few years. While thinking of food to take to camp for this past firearm deer hunting season, I remembered this recipe and thought how easy it would be to make for breakfast at camp with little cleanup afterwards. 

And yes, you read the title correctly. The omelets are made in Ziploc quart-size freezer bags. If you have a brand you like better, that's fine but just make sure the bags are tough and durable.

https://cabincleaver.blogspot.com

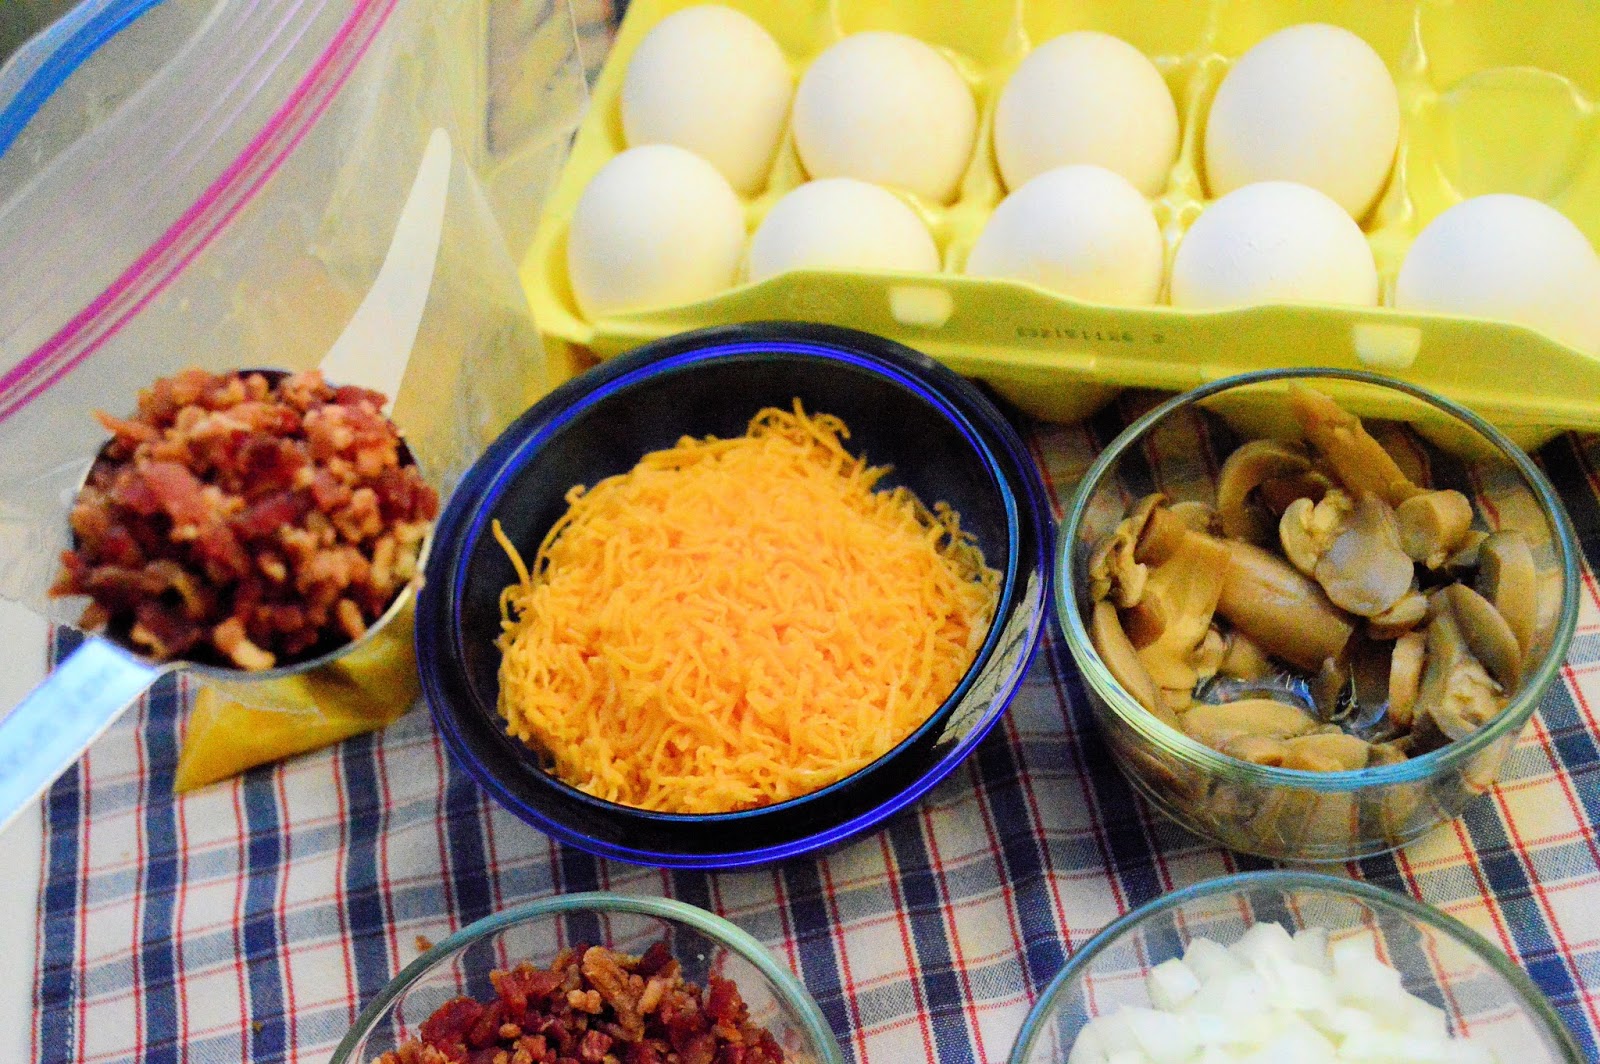
Of course you'll need eggs, but aside from that you can go with any of your favorite omelet ingredients. These are a few of Steve's favorites, but he also likes chopped up ham or sausage, green peppers, and even hash browns. A few of my favorites are spinach and feta cheese, cheddar cheese and green olives, and mushrooms with Swiss cheese.

The bacon pictured above isn't bacon bits but real fully cooked bacon crumbles.

https://cabincleaver.blogspot.com

Take your bag and with a permanent marker write the name on each bag to whom the omelet belongs.

https://cabincleaver.blogspot.com

Take two large or extra-large eggs and crack them into the bag. Don't use more than two eggs per bag.

https://cabincleaver.blogspot.com

https://cabincleaver.blogspot.com

Now you need to knead. Ha. Knead the eggs until they are all mashed up.

https://cabincleaver.blogspot.com

Ready for the goodies...

https://cabincleaver.blogspot.com

For my omelet I added...

https://cabincleaver.blogspot.com

1 tablespoon of bacon crumbles, 2 tablespoons of onions and 2 tablespoons of mushrooms, and 3 tablespoons of finely shredded cheddar cheese.

https://cabincleaver.blogspot.com

I let all the air out of the bag as I sealed it, then kneaded a bit more to mix my ingredients.

https://cabincleaver.blogspot.com

Good to go...

https://cabincleaver.blogspot.com

I filled a large sauce pan with water and brought it to a rolling boil. Then I placed the bags into the boiling water.

https://cabincleaver.blogspot.com

I made these omelets at home because the lighting is better for photographing. I have an electric stove at home. The one at camp is a gas stove. Either way, I recommend placing the bags bottom down into the water but let the tops lean to the middle. It wasn't as much of a big deal on the electric stove as you see above, but if they fall back over the side of your pan, they may melt or worse yet cause a fire so please be aware of that. 

Boil your omelets for approximately 13 minutes. If they look a little runny when you carefully remove them from the water, place them back in for a minute or two longer.

https://cabincleaver.blogspot.com

With pot holders or a towel, carefully place them on a towel to let the excess water drip off.

https://cabincleaver.blogspot.com

You can roll the omelet right out of the bag onto a serving plate.

https://cabincleaver.blogspot.com

Throw the bag away and dig in!

Here's the recipe!
*********************************************************************************

http://cabincleaver.blogspot.com/2015/12/zippy-ziploc-omelets.html 
Ziploc Omelets 
These omelets are zippy to make and cleanup is zippy, too!
Prep: 10 minutes                               Level: Easy
Cook: 13 - 15 minutes                       Serves: 6-8 at a time in one large pot

Ingredients:
1 extra durable quart-size freezer bag such as Ziploc per omelet
2 large or extra-large eggs per omelet - no more than two.
Your omelet preferences such as:
  • shredded cheese, your choice
  • chopped ham
  • crumbled cooked sausage
  • bacon pieces
  • onion
  • green pepper
  • mushrooms
  • tomato
  • hash brown
  • salsa
  • And the list goes on...
Directions:
Have each person's name written with permanent marker on their bag. Crack two eggs into the bag and knead them to combine them.

Each person puts their ingredients of choice into their bag. I usually put five tablespoons of my favorite ingredients into the bag (such as 1 tablespoon onions, 2 tablespoons mushrooms, and 2 tablespoons bacon pieces) and three tablespoons of shredded cheese . Completely remove air as you seal the bag.

Bring a large pot filled halfway with water to a rolling boil. Carefully place bags in the boiling water bottom first being careful to turn the tops in - not backwards over the edge of the pot. Boil for 13 to 15 minutes until not runny. You can fit 6 to 8 bags in one pot. If you need more omelets made, you can use another large pot of boiling water.

Carefully take the omelets out and place on a towel to dry. Roll the omelet right out of the bag onto a serving plate. Throw the bag away!


Country Skillet Breakfast Quiche with Spaghetti Squash Crust


I LOVE my cast iron skillets! This quiche turned out delicious!

Maybe some of you are like me and have a few things from your garden cooling in your garage on newspapers or filling up space in your crisper. I've had this spaghetti squash around for a couple of weeks. This is the first year I grew them and I didn't really know what to do with them. So I experimented a bit. I've been trying to eat less carbs these days but I miss my breads and crusts (and pastas)! So this turned out so yummy and healthy at the same time. I LOVE when that happens!

Like always, there will be a link at the bottom of this post for you to click which will take you to another recipe site with a link to print the recipe. If this doesn't work for some of you, please let me know! Thanks!

Along with the spaghetti squash, the other stars of this show are sausage, spinach, cheese please, coconut milk, and LOTS of eggs - nine in all.

I do have one thing to clarify...we live in a very small almost 60-year-old cabin. The lighting is...well, very poor. I don't like to use artificial lighting. I like natural light. Having a dark house leaves a lot to be desired in the photography field. There is NO natural light what-so-ever in my kitchen, so I have to take every photo in a small corner by a back door and a window which is probably 5 steps from my stove and oven. I realize none of these photos are on an actual stove. I'm just doing my best to show the steps in the recipe. Thanks guys, for understanding! Maybe someday I'll share my work area...maybe. Not so exciting. But I have fun!


Washed and dried spaghetti squash in a deep bowl.


Prick the squash all over with a fork, then place the whole business (not the fork!) in the microwave. Zap on high for 15 minutes. Be careful when you remove the bowl from the microwave. Lots of hot juice comes out of the squash. Don't burn yourself!


This is where my bottom lip juts out.

My squash is sad.

Set it aside and let it regain its composure.


Meanwhile, heat your skillet over medium high heat. Pour in that teaspoon of olive oil. Spread the love around the pan...


...then add your sausage. Break it up into small pieces while you brown it. 


Drain. Set aside in a medium bowl. Don't wipe out the skillet, you'll need it again.

Preheat your oven to 450 degrees F.


Now that the squash has cooled off (and regrouped), slice it in half and scoop out the seeds. Discard them.


Using a fork, shred the remaining squash. Put into a colander and squeeze out as much juice as possible.


Find an old clean towel, place the squash inside and squeeze, squeeze, squeeze.


Perfect!


Add the salt and pepper and mix it up.


Press the squash into the skillet you used to brown the sausage.

Place it into the preheated oven and bake for 15 minutes. Let cool.


In a non-stick fry pan prepared with cooking spray, cook 3 cups of fresh spinach until wilted - about 2-3 minutes.


Yay!


Add the cooked sausage and mix together. Remove from heat.


Crust is set and edges slightly browned.

Now you can turn the oven down to 325 degrees F.


Get yourself a big bowl and mix up the 9 eggs, coconut milk, cheese, salt and pepper.


Add the spinach sausage mixture. Mix well.


Pour into the skillet over the baked squash crust. Put it into the oven and bake for 45 minutes, or until the eggs are set. Use a butter knife and test various spots. If the knife comes out clean, the quiche is ready!


Yum!


Such a healthy breakfast! And if you want to jump start your day, sprinkle a little hot sauce over your serving and slice up some green onions and toss them over the hot sauce.

It's gonna be a great day!

Here's the recipe and a link to print it out.

Country Breakfast Skillet Quiche with Spaghetti Squash Crust

Ingredients

  • Crust
  •  Large Spaghetti Squash
  • ½ teaspoons Salt
  • ⅛ teaspoons Pepper
  • Filling
  • 1 teaspoon Olive Oil
  • 16 ounces, weight Pork Sausage
  • 3 cups Fresh Spinach Leaves
  •  Eggs
  •  Egg Whites
  • 1 cup Coconut Milk, Unsweetened
  • 1 cup Colby Cheese
  • ½ teaspoons Salt
  • ⅛ teaspoons Pepper
  • Hot Sauce, Optional
  •  Green Onions, Sliced Optional

Preparation

Add oil to a 10″ cast iron skillet. Add sausage and break into pieces while it cooks. Brown completely. Drain. Spoon into a medium-sized bowl and set aside. Don’t wipe out the skillet!

Preheat oven to 425 degrees F.

Crust:
Put the spaghetti squash in a large microwavable bowl. Prick the squash all over with a fork. Microwave on high for 15 minutes. Be careful removing from the microwave because there will be very hot juice from the squash in the bowl. Let it cool slightly on the counter.
Place the squash on a cutting board and slice it in half. Scoop out the seeds and discard. With a fork, shred the squash which remains. Discard outer shell. Place the shredded squash in a strainer in the sink and push out as much juice as you can. Using an old towel, spoon squash onto towel, fold up, and squeeze over sink. Get as much juice out as possible. Place squash in a bowl. Mix in the salt and pepper. Press into the skillet you used to brown the sausage. Bake for 15 minutes or until edges are slightly brown. Let cool.

Reduce oven to 325 degrees F.

Filling:
Spray a non-stick pan with cooking spray and warm to medium heat. Add the spinach and cook until it is wilted, about 2-3 minutes. Add the cooked sausage and mix together. Remove from heat. Let cool.

In a large bowl, mix together the eggs, egg whites, milk, cheese, salt, and pepper. Stir in sausage and spinach. Pour over baked spaghetti squash crust. Bake for about 45 minutes or until eggs are set. Let it cool slightly. I usually take a butter knife and loosen the quiche from the side of the skillet. Then I take a rubber spatula and loosen the sides and bottom a little more.

Optional: Sprinkle drops of hot sauce over servings along with chopped green onions.

Easy Spinach Cheese Quiche


When my sons, who are now grown men, were young boys (sniff - I MISS those days!), they would ask me to make "that spinach pie" for dinner. I would first laugh when they called the quiche a pie, but was thrilled they wanted to eat spinach! So I would whip this quiche up in no time. It takes only a half hour to bake, another ten minutes to rest, and it is delicious. The cheese and bacon really add taste. The fun part is you can use any cheese you like and mix it up each time you make it. The recipe calls for cheddar cheese, but I have used shredded swiss, or shredded provolone, crumbled feta, or any cheese that you like as long as you use the two cups as indicated in the recipe.


There are not a lot of of ingredients needed to assemble this yummy quiche: eggs, milk, your favorite two cups of cheese, salt and pepper, three or four slices of cooked bacon broken into chunks, or crumbled real bacon you can buy at the store, and a pie crust. You can use any pie crust you desire. When I want to make things speedy, I use a pre-made pie crust from the refrigerator section of my grocery store. This recipe makes a deep dish quiche so you'll want to keep that in mind when purchasing or making a pie crust and the deep dish pie plate you'll prepare it in.

Okay, roll up your sleeves and let's get 'er done!

Ingredients for Easy Spinach Cheese Quiche 
(You don't have to write them down. I'll have a printable link to the recipe at the bottom of this post.)

1 unbaked deep dish Pie Shell (homemade or I get mine in the refrigerator section of my grocery store)
1 - 10 oz. package frozen chopped Spinach
2 cups Cheddar Cheese, shredded (or other favorite cheese)
2 tablespoons Flour
1 cup Milk
2 Eggs, beaten
3 slices cooked Bacon, broken into pieces, or Real Bacon Pieces from the store, about 1/4 - 1/2 cup
1/2 teaspoon Salt
dash of Pepper


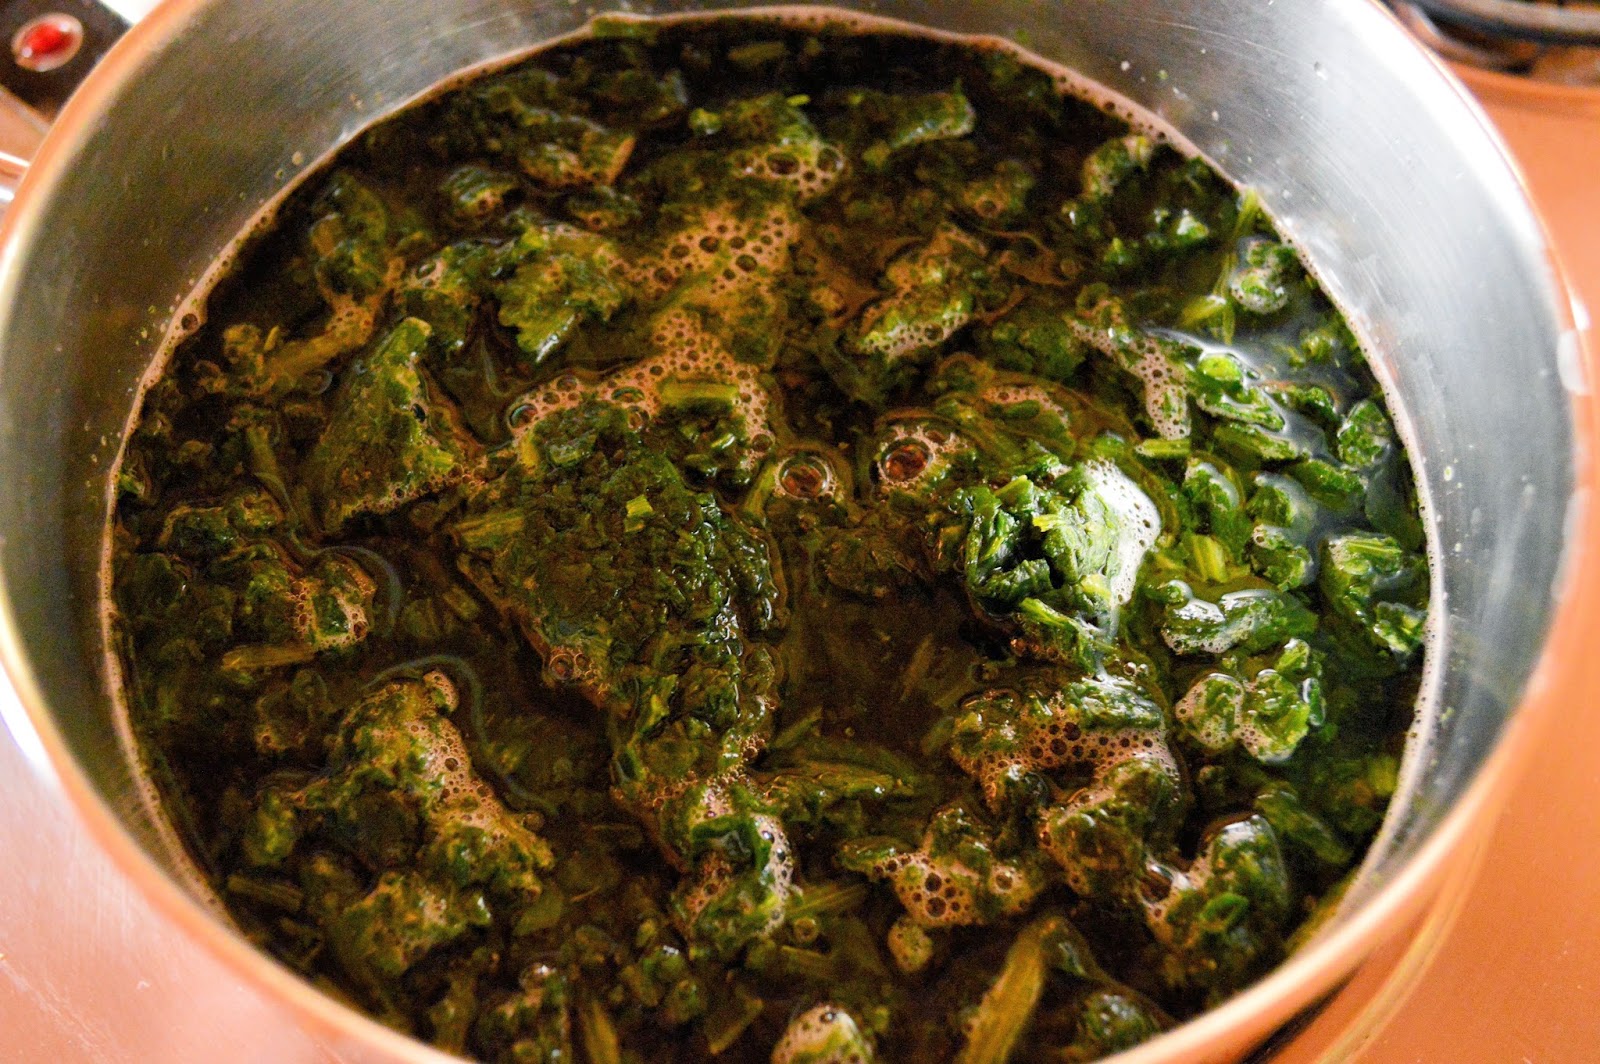
First, cook the spinach in a medium pot according to package directions. Drain in a colander. When cooled squeeze excess water from spinach. Get as much water out as possible.


Prepare a deep dish pie plate with pie crust of your choice. Make sure you spray pie pan with non-stick spray. If you are using a store bought refrigerated crust, follow the directions on the box for a one-crust pie.


In a large mixing bowl, toss cheese with the flour. 


Perfect.


Put your eggs in a deep small bowl.


Whisk! Whisk! Whisk!


Add to cheese mixture.


Add milk.


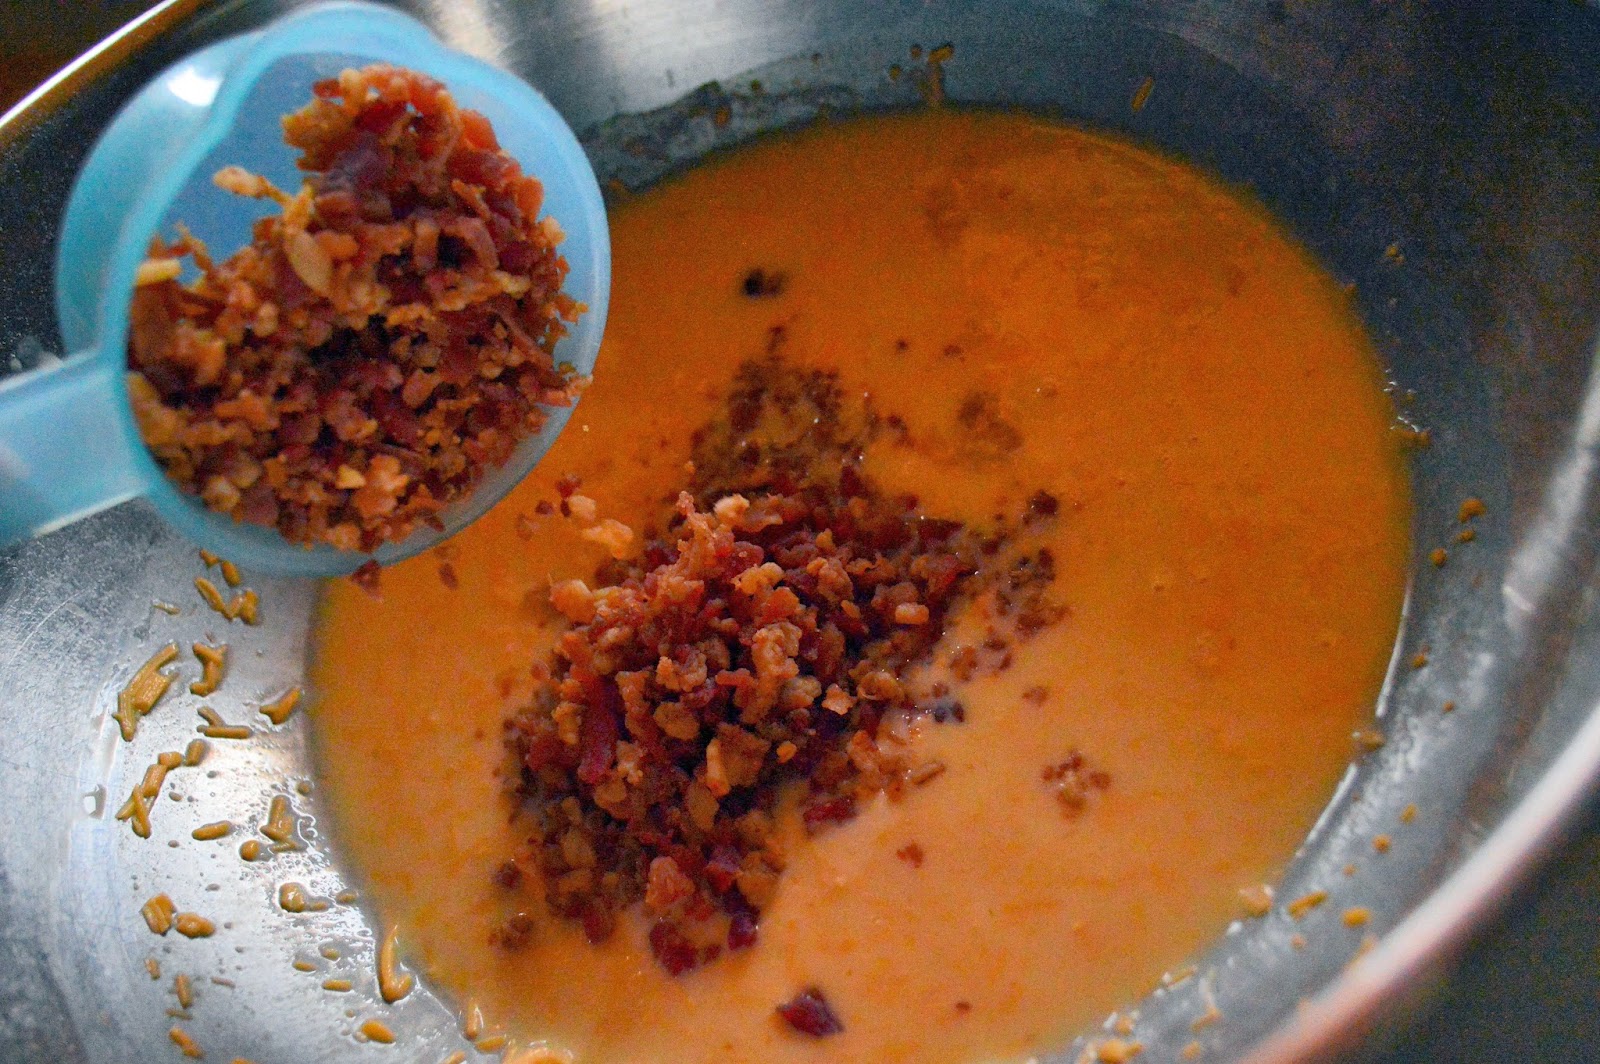
Add real bacon pieces. I like bacon, man.


Mix it all together like you mean it.


Add the very drained, very squeezed, very violated spinach...


...to the mixing bowl. Mix it like you mean it.


Pour into patiently waiting pie shell. Then put into preheated 375 degree oven. Turn timer to 30 minutes.


Insert a clean butter knife into the center of the quiche. If it comes out completely clean, your quiche is ready. If not, pop it back into the oven and repeat in about 3-4 minutes. When the knife test is accomplished, remove quiche from oven, cover with waxed paper for 5-10 minutes so it sets.


Enjoy as a side dish, breakfast delight or elegant brunch dish!

Here is the printable recipe if you'd like to give it a try.